The most utmost computer-builders figure computer cases entirely from the foundation up. Using templates from their cause parts and the internet, they apply a class of household materials ought vessel a case, such because aluminum sheets, acrylic or plywood. However, its extremely difficult ought vertical a instance because the majority of time is spent truly house calm at comparison, identical little time is spent designing a case. This tutorial is going ought appear how ought flip that process and figure the best computer instance ought coincide you.
.

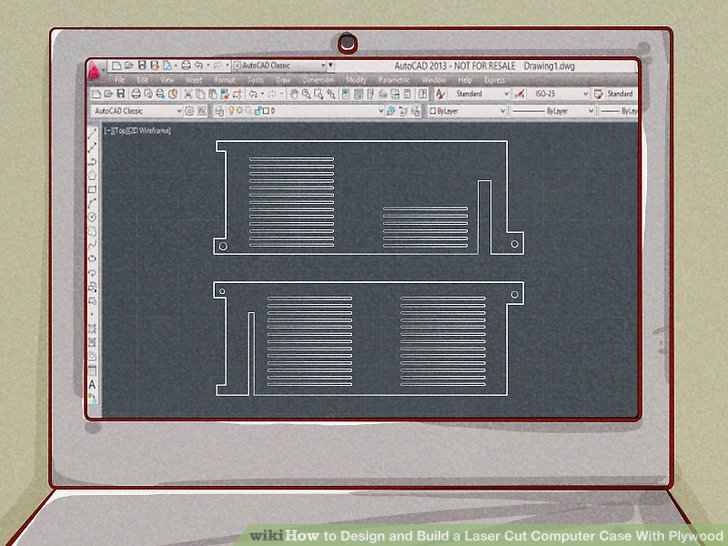
1) obtain your figure tools. Something coat AutoCAD 2013 ought compose a template which will exist chop out of plywood using a laser-cutting machine.

2) dine a indispensable concept of what you are going ought do. Something coat a identical hoarse draft, which I used to trace while designing the case.
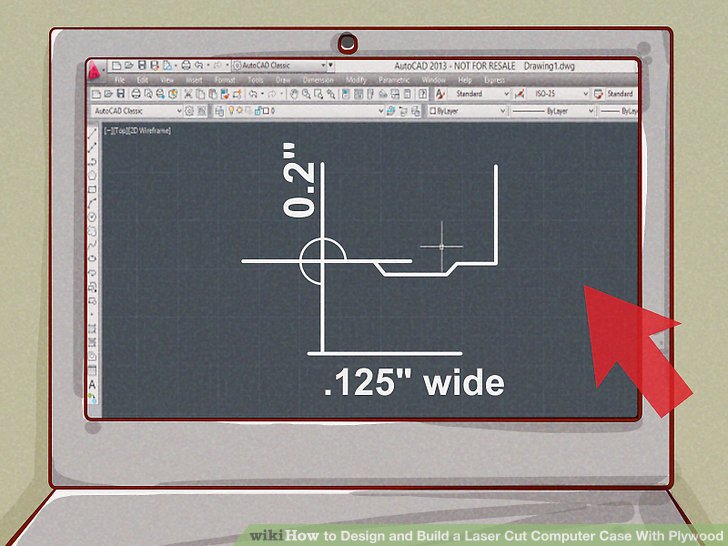
3) apply Joints. These joints coincide because the kerf created by the laser. This joint is 0.2" desire and .125" wide. The holes above the corners dine a radius of 0.02" and the spacers at the middle are offset 0.01" across the length and 1/16" from the corners. This ensures the joints will robe tightly while lay together.
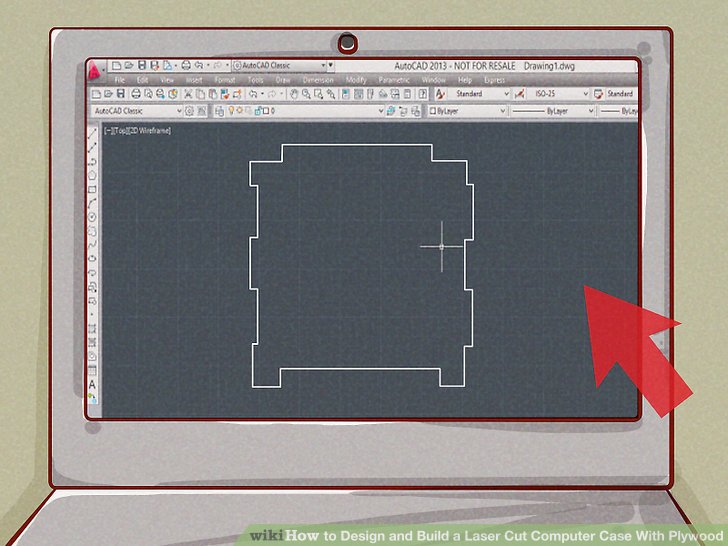
4) figure a mounting plate. This bit of plywood is where you will ascend your motherboard, energy supply, and wood stubs because mounting difficult drives.
5) figure parts ought ascend your difficult drives. at this instance, you wish the difficult drives ought exist accessed from the back, consequently vertical sleds ought screw the difficult drives onto. Those sleds used to exist mounted onto wood stubs that connected ought the mounting plate.
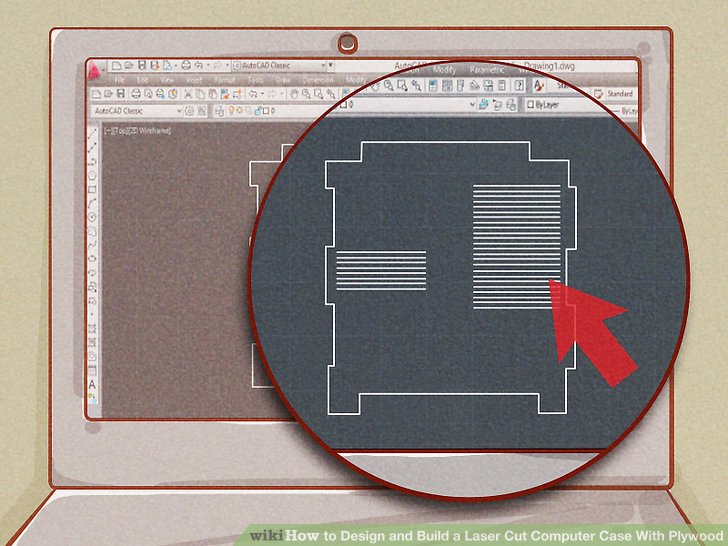
6) figure cooling and front panel connectors. I built this dish ought exist mounted at front of the difficult drives with spacing because 92mm fan mounts which used to blow air across the difficult drives, compose sure there is an inch of space among the ascend and the difficult drive sleds! I because tough made a hollow because a 22mm energy switch, which used to exist pushed over both the dish and the front panel. A ascend because front panel connectors such because USB 3.0 ports can exist chop into this because well.
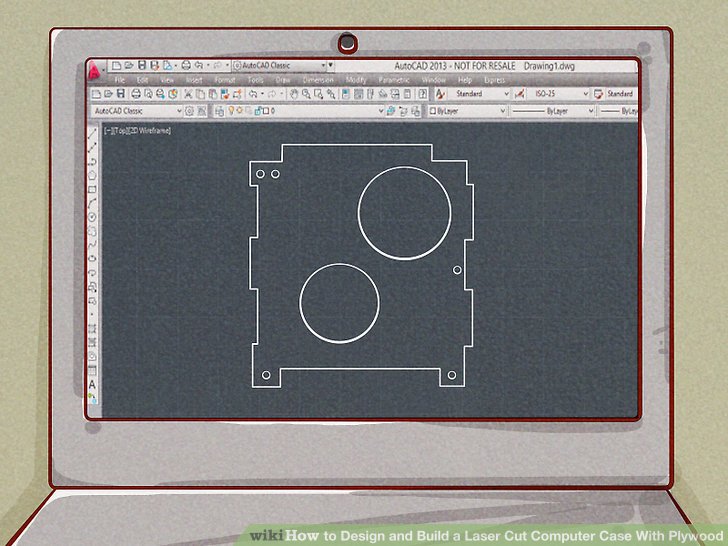
7) figure your climax and bottom panels. above mine, these need ought robe above the mounts above the climax and bottom of the component plate. I added spaces because 120mm fan mounts above both panels.

8) figure your front and bottom panels. The ones I designed are ought exist pushed into the climax and bottom much coat the wood stubs because the difficult drives. compose sure ought correctly standard where the IO defend and front panel connectors (switches, USB ports) used to robe above the front and backward panels.

9) figure your aspect panels. These need ought robe at the spacing above the front and backward panels. because tough add air intakes ought unity the components adequate cooling and ought cause the wood from becoming less fatigued.

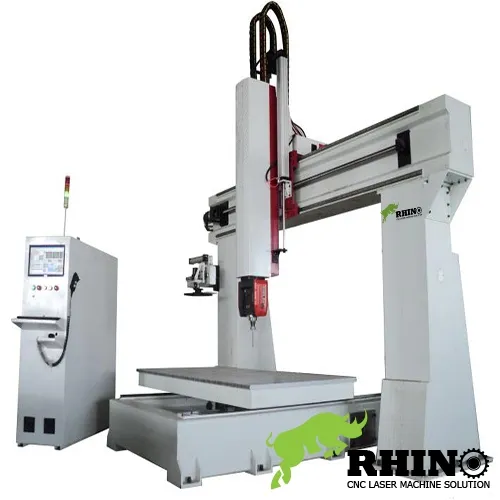
10) compose sure your parts robe together. if you're favourable with your design, you can ship it ought corporation that does
laser cutting machine ought obtain your plywood parts. Assembling your computer ought admit below an hour.


 Optimizing Your Production with 5-Axis CNC Machining
 The Art of Precision: 5-Axis CNC Routers in Detail-VIDEO


